EVM Heatmap Overview
As part of the EVM platform, you will have access to a heatmap of your campus. This map is designed to provide you with real-time location data on your visitors and will also provide historical data you can download in report form. Along with these features, the map is very flexible and is compatible with large campuses and multiple floors with simple to use map controls that you are already familiar with. Let's take an in-depth look at different parts of the heatmap.
Accessing Your Heatmap
To access your heatmap, navigate to your School Manager by clicking this link. Once you log into your School Manager, click the Live Heatmap option in the left navigation pane.
Identifying Features of the Heatmap
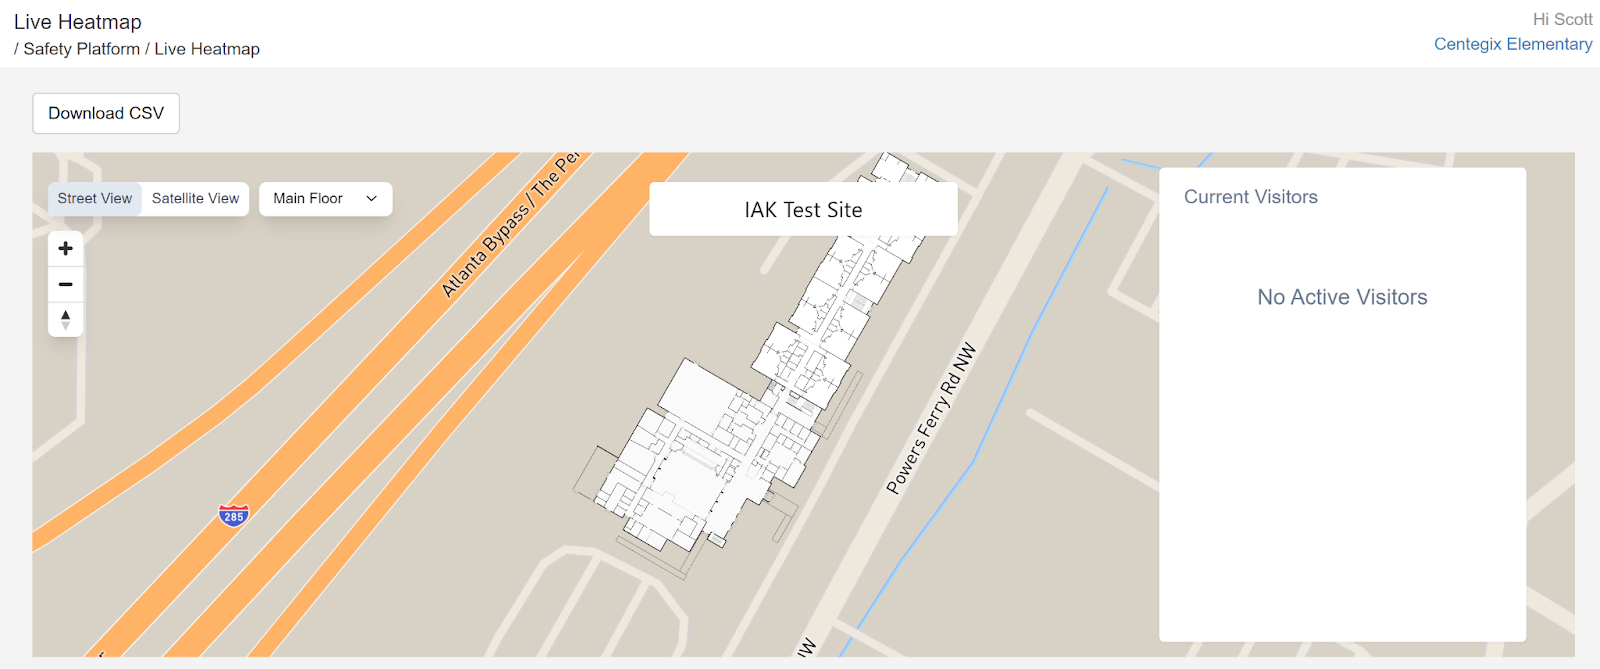
Here, we have an example heatmap of a campus with 3 floors. Let's define what we see here.
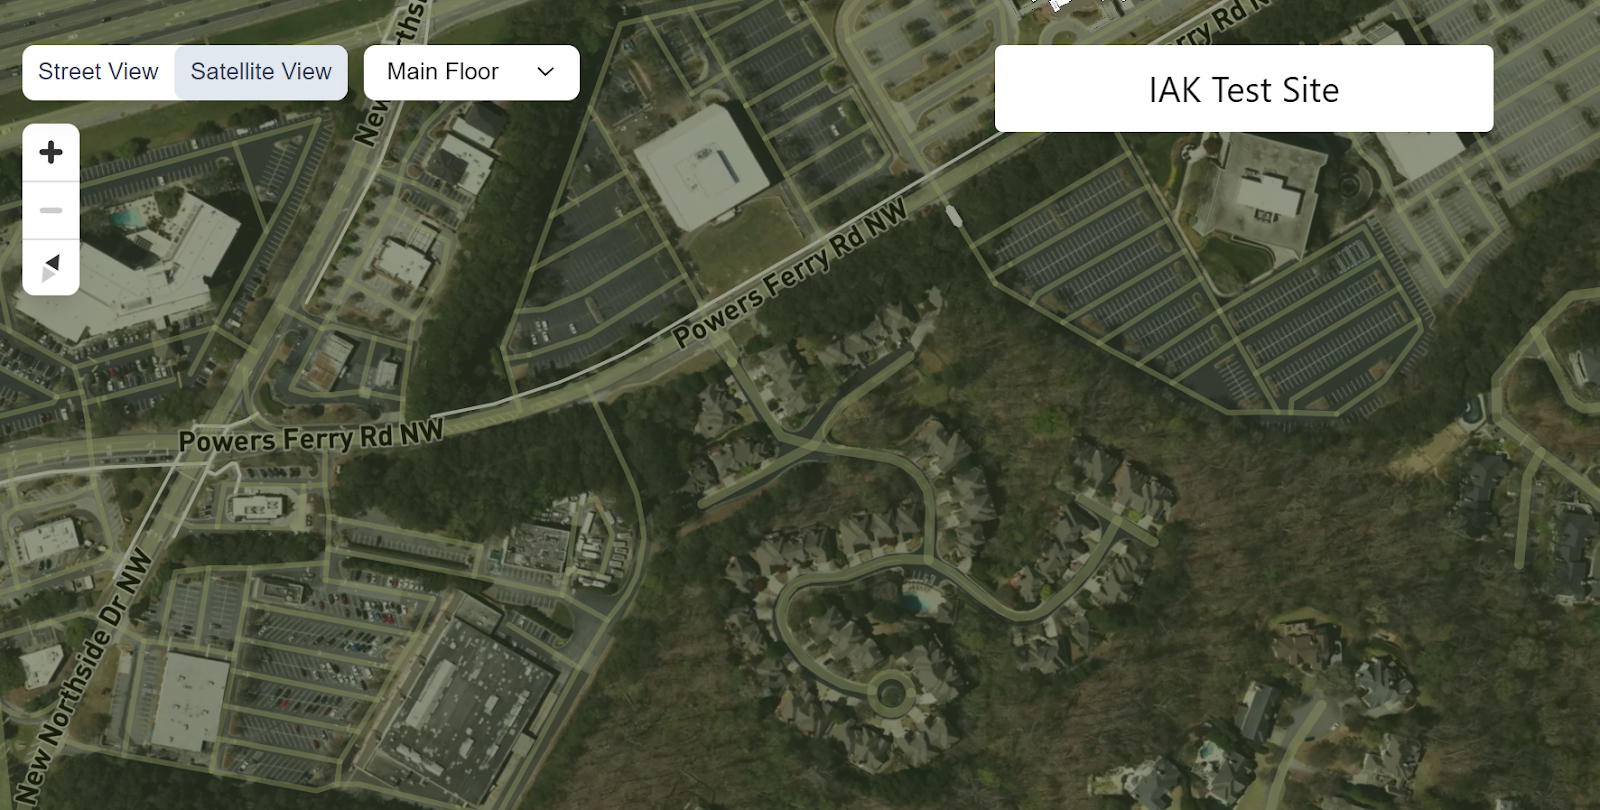
In the upper left corner of the map will be your map controls. Here you can change the map view from the default street view to satellite view.
You can also select a specific floor to view.
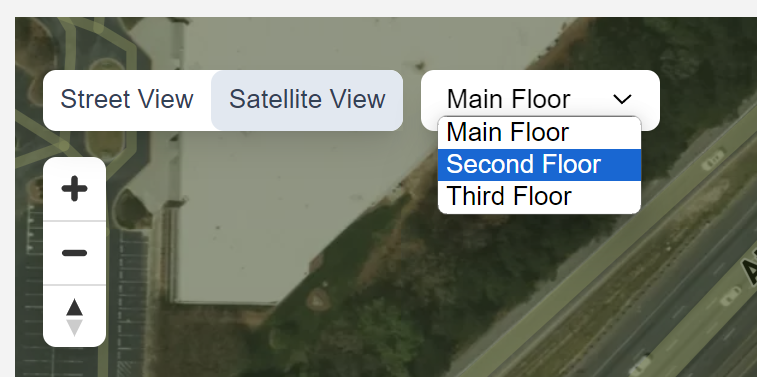
There are also controls for zooming in and out of the map and returning the view to true north.
To rotate the map, click and hold the right mouse button and move the mouse.
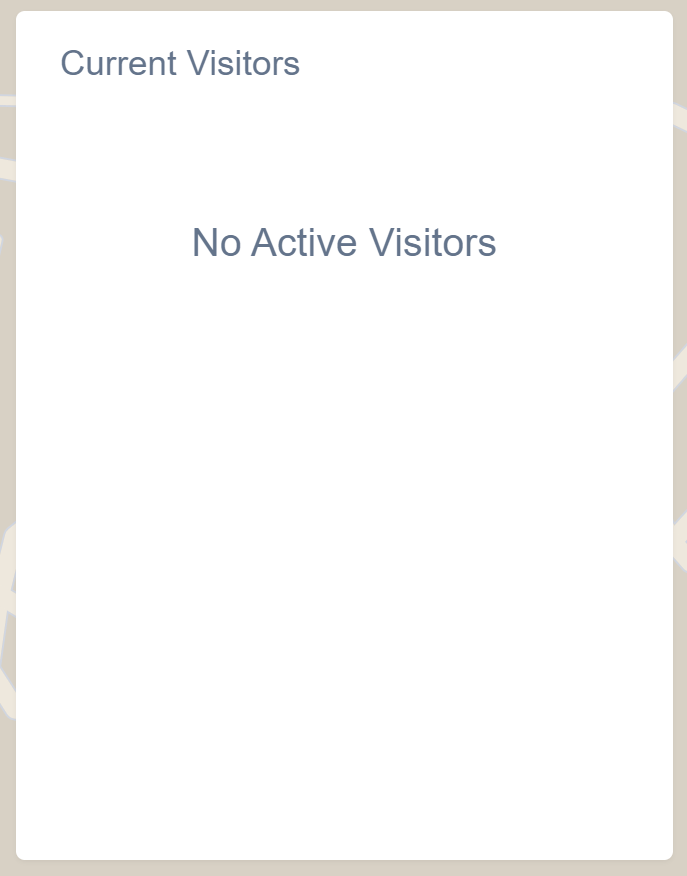
On the right side of your map, you will see a real time visitor list. These are visitors active on your campus right now. Their corresponding position on the map will also display and update every 60 seconds. Keep in mind, this list will only show visitors and others who checked in using a Centegix badge. If you have other users, such as students, who are not using a badge to scan in, they will not display here.