Using Remote Links (Web Client)
Sharing a station allows users to check in from remote devices instead of having to check in at the kiosk. This includes other PCs, smartphones, or tablets.
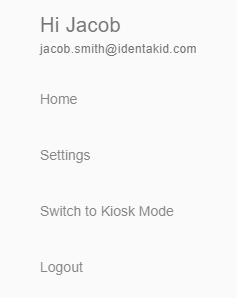
To enable Remote Links, first click on the 3 lines at the top left-hand corner of the check-in/out screen, then click on Settings. If you do not see Settings, you’ll need to click on Switch to Admin Mode and then log in with admin credentials. Once there, you should see Settings.
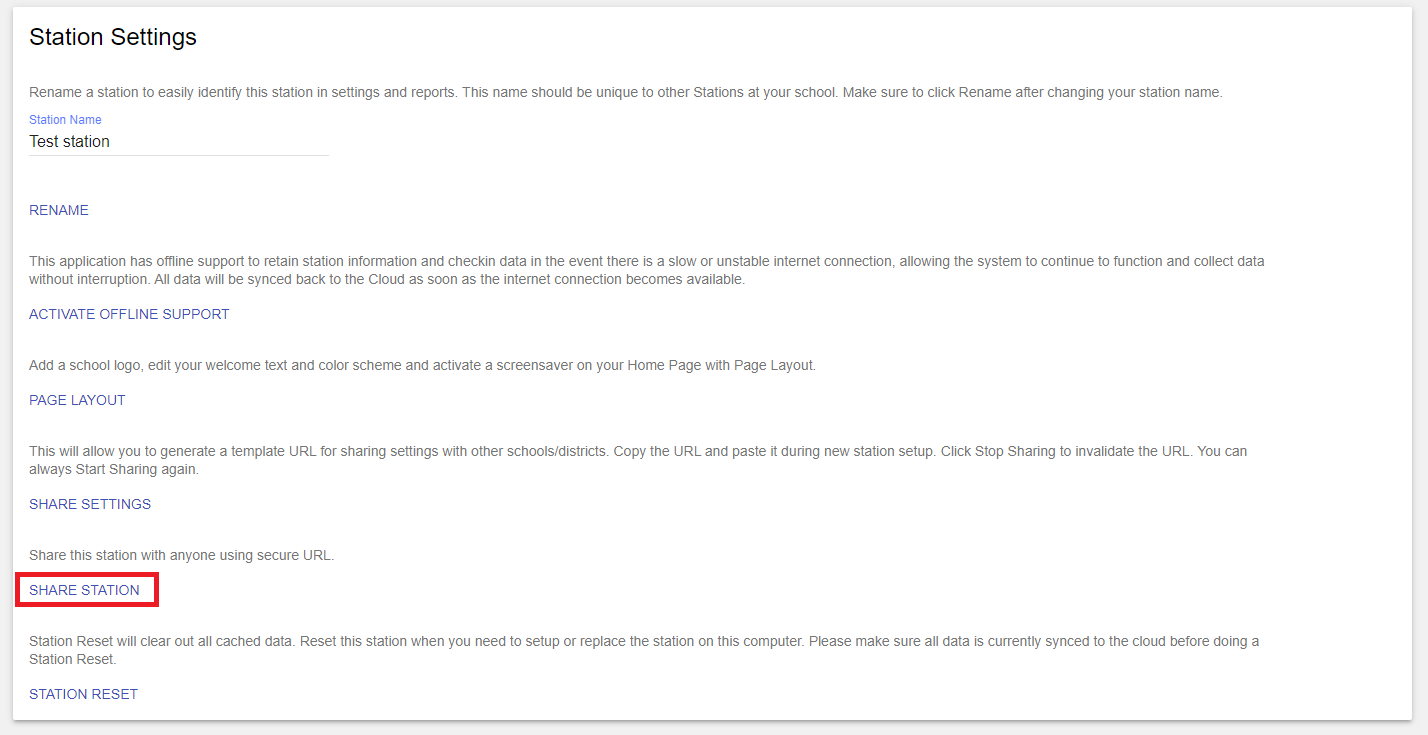
Within Settings, scroll down until you see Station Settings, then choose Share Station.
Next, set the expiration time(in hours) for how long you’d like the station to be shared. It will default to 745 hours, which is 1 month. The max is 1 year, which translates to 8760 hours.

Once that’s done, click Share Station, which will generate a URL that you can pass out to your users.
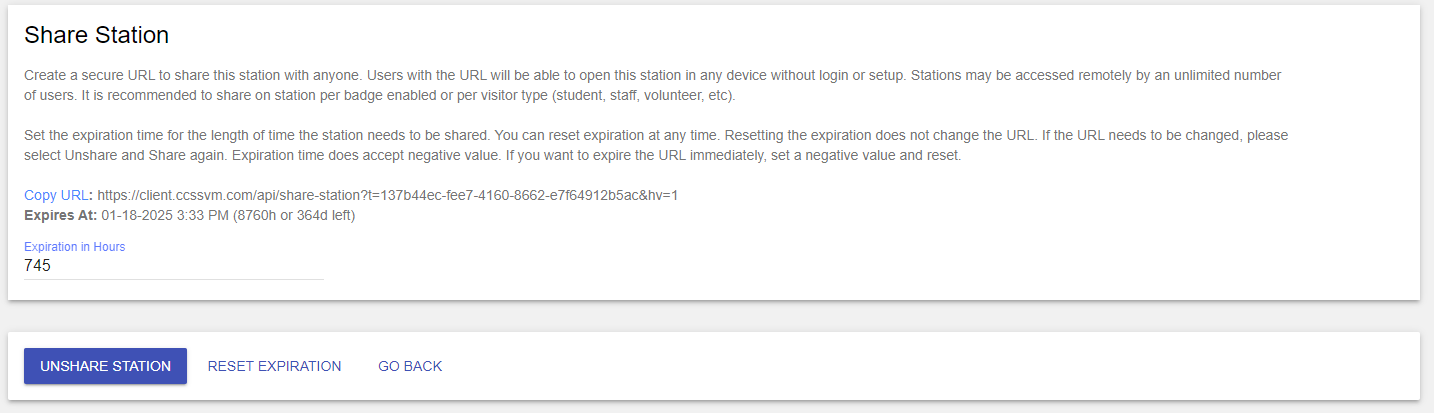
Clicking Unshare Station will cause any shared stations to stop working immediately.
Best Practices
- Create a new station with your custom station settings before sharing
- Keep the most basic settings active to make the process easier for your users
- Disable printing, using Jiffypass and scanning licenses
- Use your Pre-approved List for users who have already been through a sexual offender check
- Stations will be in Admin Review and able to bypass using certain devices, including Sexual Offender Check
- End users cannot change settings once the shared station is configured, but an admin can make changes to the main client(that was shared) that will reflect any running shared stations
- Configure and share a station for each type of user that you have
- Hide badges you don’t want to be seen or used
- Check and set an expiration timer
- Disable sharing when not in use