9010 Scanner Setup Guide (Web Client)
Hardware Setup:
The 9010s scanner is plug-and-play. All you need to do is connect it to your PC via a USB cable. The scanner will beep when plugged in. Optionally, you can set up the stand that comes with the scanner.
- The stand consists of a base and a neck. Remove the screw from the base, and attach the stand to it.
- Push the scanner handle into the hollow of the neck to secure it.
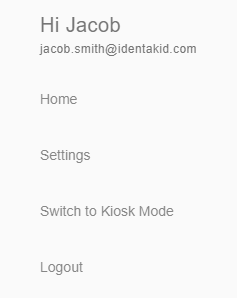
To configure your 9010s scanner, first click on the 3 lines at the top left-hand corner of the check-in/out screen, then click on Settings. If you do not see Settings, you’ll need to click on Switch to Admin Mode and then log in with admin credentials. Once there, you should see Settings.
1. Next, click Devices.
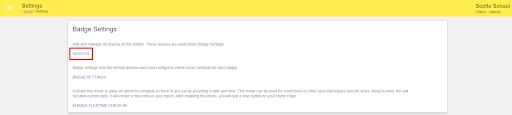
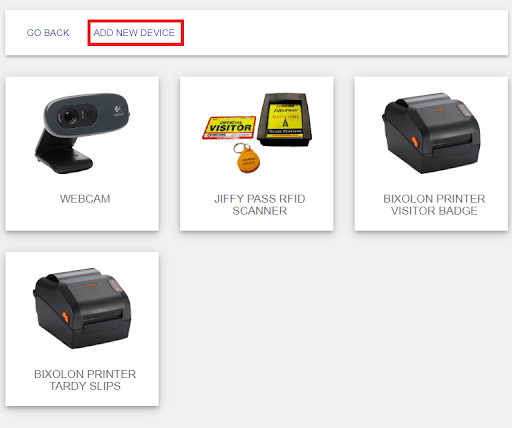
2. Click Add New Device.
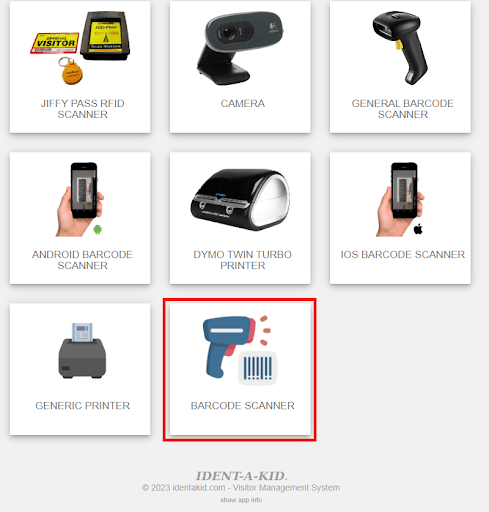
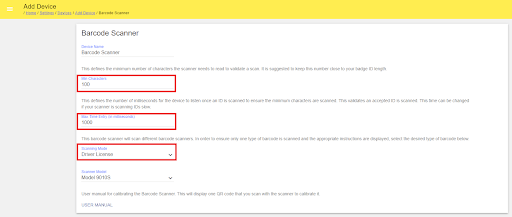
3. Here, select Barcode Scanner.
4. Set the Min Characters and Max Time Entry (in milliseconds) according to the Scanning Mode dropdown selection.
Driver License Mode - Allows you to scan US drivers licenses
IAK Badge Mode - Allows you to scan the QR code printed on the visitor badge to check out
Raw Code - Allows you to scan any generic barcode/QR code, usually used for student IDs
Recommended values for each scanning mode:
- Driver License – 1 min characters & 2000 max time entry
- IAK Badge – 1 min characters & 1000 max time entry
- Raw Code – 1 min characters & 1000 max time entry
Centegix – 12 min characters & 1000 max time entry
6. Click Save when done.
Disabling 1D barcode scanning
Some users may experience the scanner picking up the generic barcode on the back of the drivers license, instead of the PDF417 code that holds the information it needs to parse. If you find that this happens often, you can scan this code in order to disable 1D barcode scanning.

Please note: If you use this device to scan student ID's, you should not scan this calibration code because it may prevent the scanner from picking them up, as most student ID's are 1D format.
Disabling the requirement to hold the trigger down
If you would prefer not to have users need to hold the trigger down when scanning, you can scan the code below to put the device into Sense Mode. This way, it will start looking for a code to scan as soon as it senses movement in front of it.

